10.3. Add a Tool
This page describes the process of adding new Docker image to the Docker registry.
Docker CLI has to be installed.
A registry has to be configured to use Cloud Pipeline (CP) authentication system (see 10.1. Add/Edit a Docker registry). In case of registry doesn't use CP authentication system - contact your system administrators for registry access details.
- Go to the Tools tab and choose a registry.
- Click the Gear icon → How to configure?
-
Copy and paste a command from the Login into cloud registry section (a) into the Terminal, then run it. This command installs registry certificate and uses docker login command to access the registry.
Note: this command requires "root" rights.
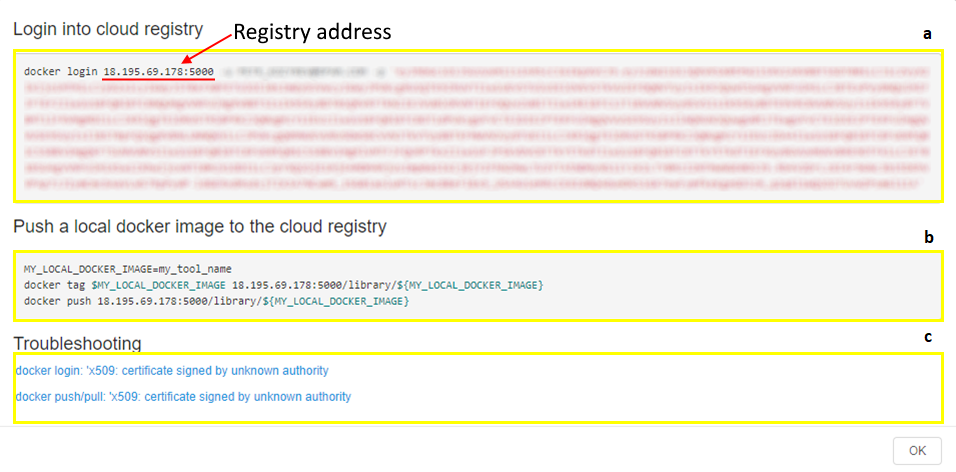
Copy and run instructions from the Push a local docker image to the cloud registry section (b) consequentially to add the Tool to the registry:
- Create environment variable (
MY_LOCAL_DOCKER_IMAGE) that holds the name of the Docker image; - Tag the image you want to push with the domain name or IP address and the port of the Docker registry;
- Push the image to the registry.
Example: here we push "hello-world" image to the registry "18.195.69.178:5000", "library" Tool group.

Troubleshooting section (c) contains information about fixing common problems that may appear during the execution of docker login or docker pull/push commands.
- Create environment variable (
-
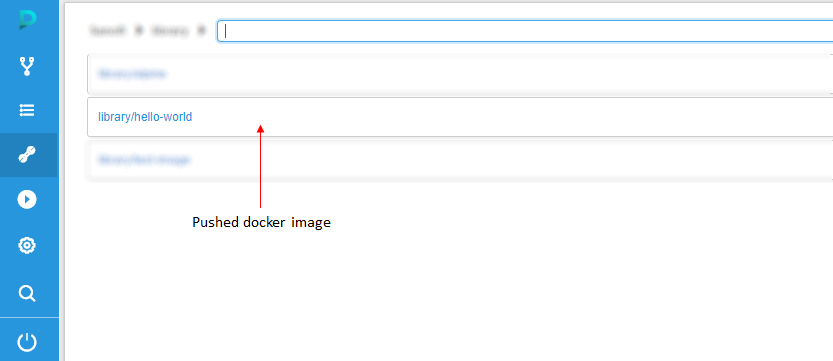
Make sure that image was pushed to the registry and enabled in the Tools tab.
Note: Tool will be automatically enabled only if CP authentication is configured for the registry.
Note: If registry doesn't use CP authentication system, after the image was pushed do the following:
- Navigate to the Tools tab.
- Choose a Registry and a Tool group.
- Click the Gear icon → + Enable Tool.
- Write the name of the pushed image. Registry and Tool group will be already written for you.
