Working with a Project
Project is a special type of Folder. Projects might be used to organize data and metadata and simplify analysis runs for a large data set. Also, you can set a project attributes as parameters of analysis method configuration.
Note: learn more about metadata here.
Create a project
To create a project you need WRITE permissions for the parent folder and the ROLE_FOLDER_MANAGER role. For more information see 13. Permissions.
To create a project in the system, the following steps shall be performed:
- Navigate to a folder of a future-project destination.
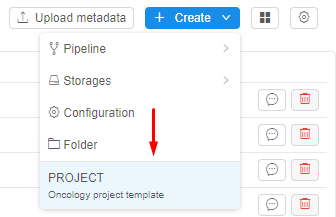
- Click + Create → PROJECT.
Note PROJECT is an oncology project template. It supports the default structure of an oncology project.
- The system suggests that you name a new project.
- Enter a name.
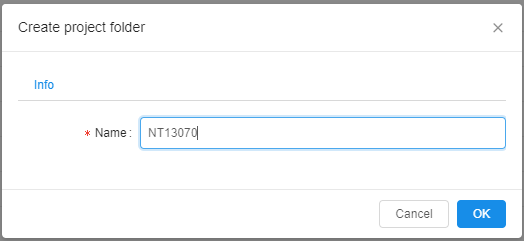
- Click OK button. You'll be fetched into the new project's parent folder page automatically.

- The folder has a default attribute: type = project (see picture above, 2).
Note: It's an essential attribute for a project. Based on this attribute, the system recognizes a folder as a project. If the attribute is removed, the folder is no longer a project. - The new project contains (see picture above, 1):
- Method-Configuration folder. It will be a container for all your methods to run.
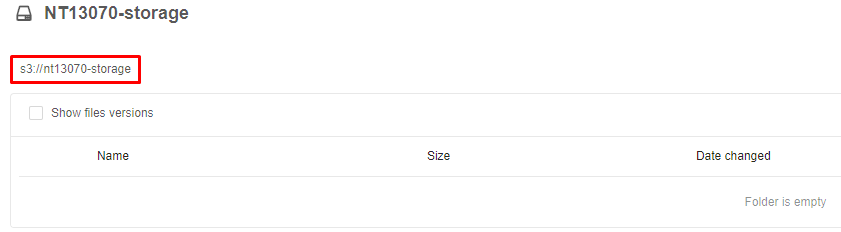
- Storage. The storage will be empty. The name of the storage will be set as a default.
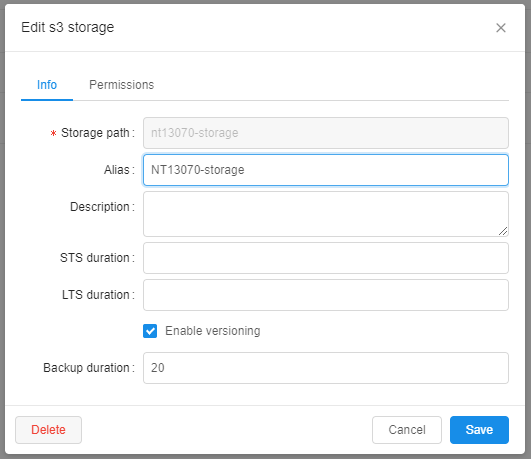
Here you can see default settings of new storage.
- History. This is a table that contains all at any time scheduled runs of a project's methods. For now, it's empty.
The picture below illustrated how the table looks with an existing run's history. The History GUI repeats the Run space. For more details see 11. Manage Runs.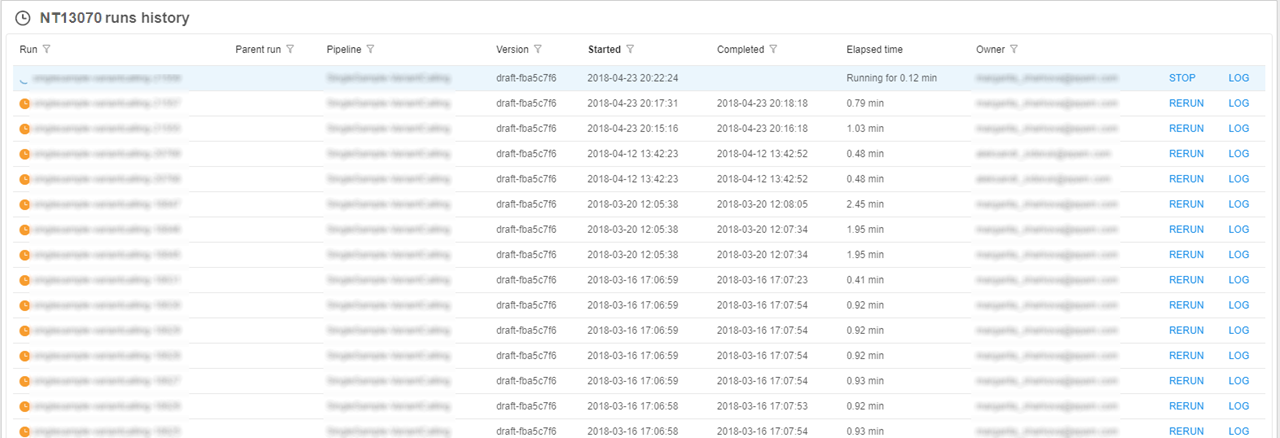
- How to add metadata in the project, see here.