6.1.1. Building WDL pipeline with graphical PipelineBuilder
- Overview
- Creating a new pipeline with a Pipeline Builder
- Overriding docker image for a specific task
- Example Pipeline
- Search over the Graph
To create a new WDL pipeline in a Folder you need to have WRITE permissions for that folder and the ROLE_PIPELINE_MANAGER role. For more information see 13. Permissions.
Overview
Cloud Pipeline allows creating pipelines using graphical IDE called "PipelineBuilder". "PipelineBuilder" provides GUI approach to construct WDL pipeline workflow supported dependencies, loops, etc without programming.
"PipelineBuilder" is based on WDL language (by Broad Institute, https://github.com/openwdl/wdl) that is executed by "Cromwell" service.
Creating a new pipeline with a Pipeline Builder
- To start using Pipeline Builder - create a new pipeline from "WDL" template: + Create → Pipeline → WDL.
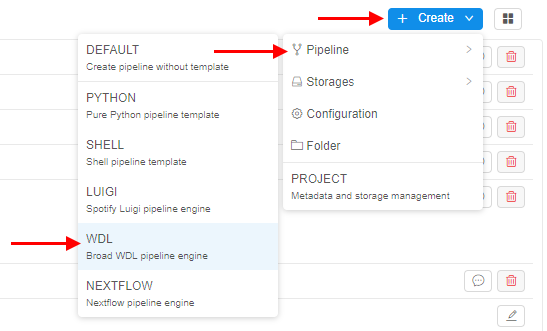
- Name it (e.g. "pipeline-builder-test").
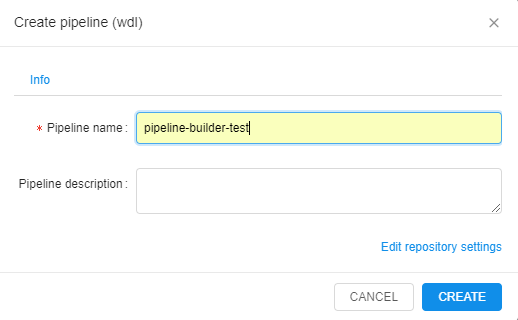
- This will create a new pipeline with a draft version.
- Click on the created pipeline and open the pipeline draft version.

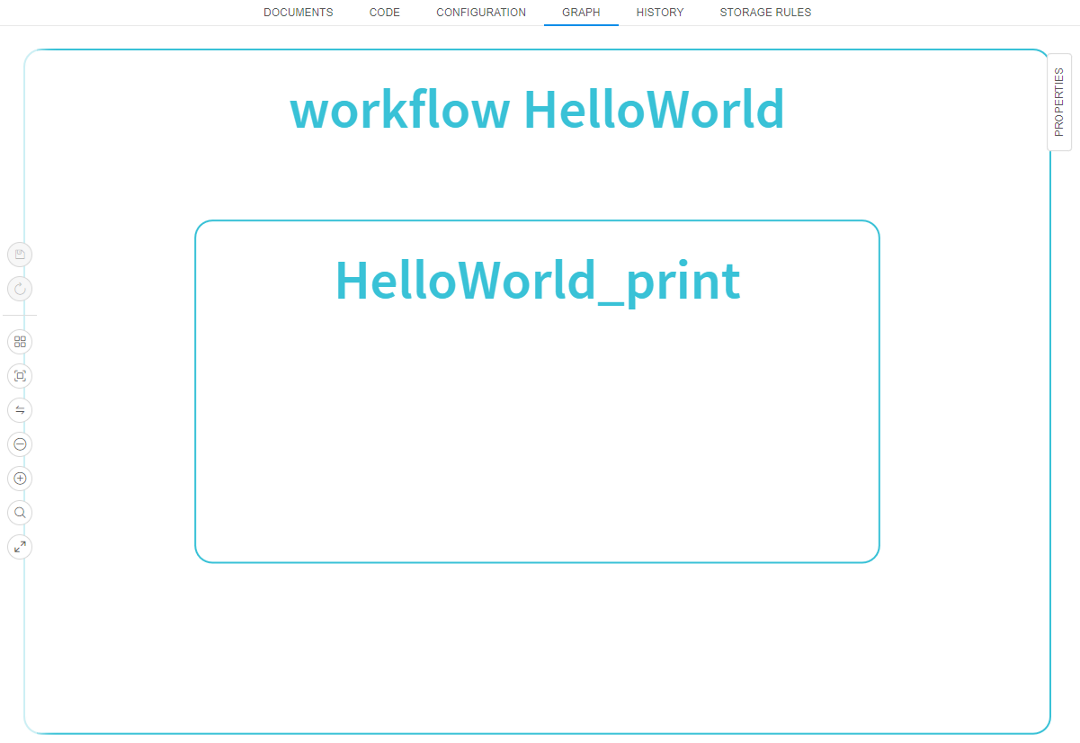
- Navigate to the GRAPH tab.
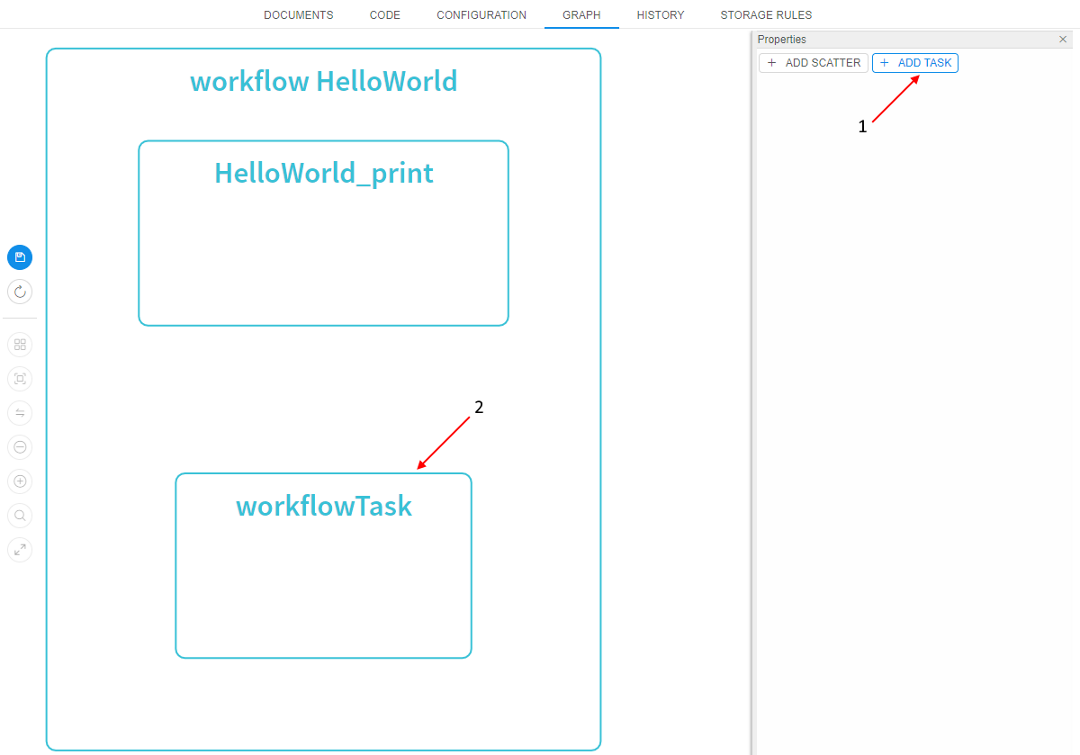
Default pipeline will be generated with a single task "HelloWorld_print".
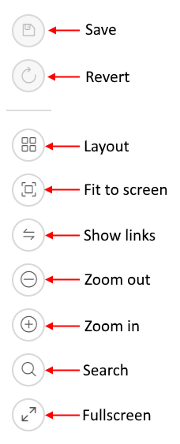
- Auxiliary controls ("Save", "Revert changes", "Layout", "Fit to screen", "Show links", "Zoom out", "Zoom in", "Search", "Fullscreen") are in the left side of the WDL GRAPH:
- To add more tasks:
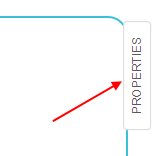
- click PROPERTIES in the top right corner to open "Properties" panel
- then click ADD TASK button
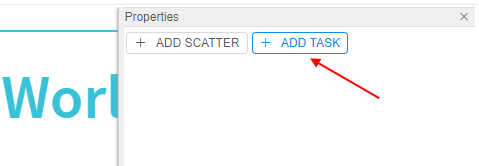
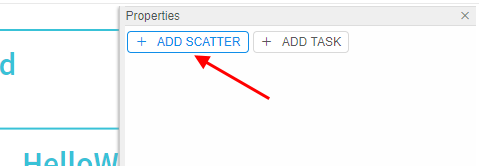
Note: The ADD SCATTER button allows adding scatters.
- click PROPERTIES in the top right corner to open "Properties" panel
- This will create a new task in the main workflow:
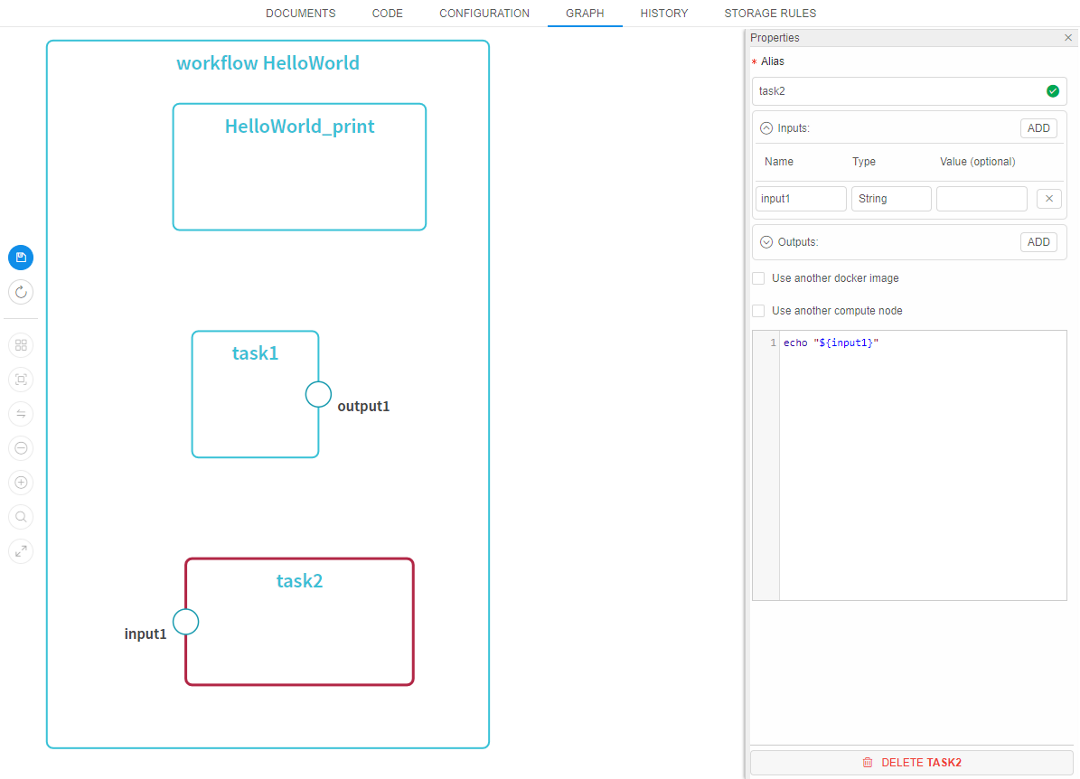
- Click on the just-created task. It will become highlighted and the task editor will appear at "Properties" panel:
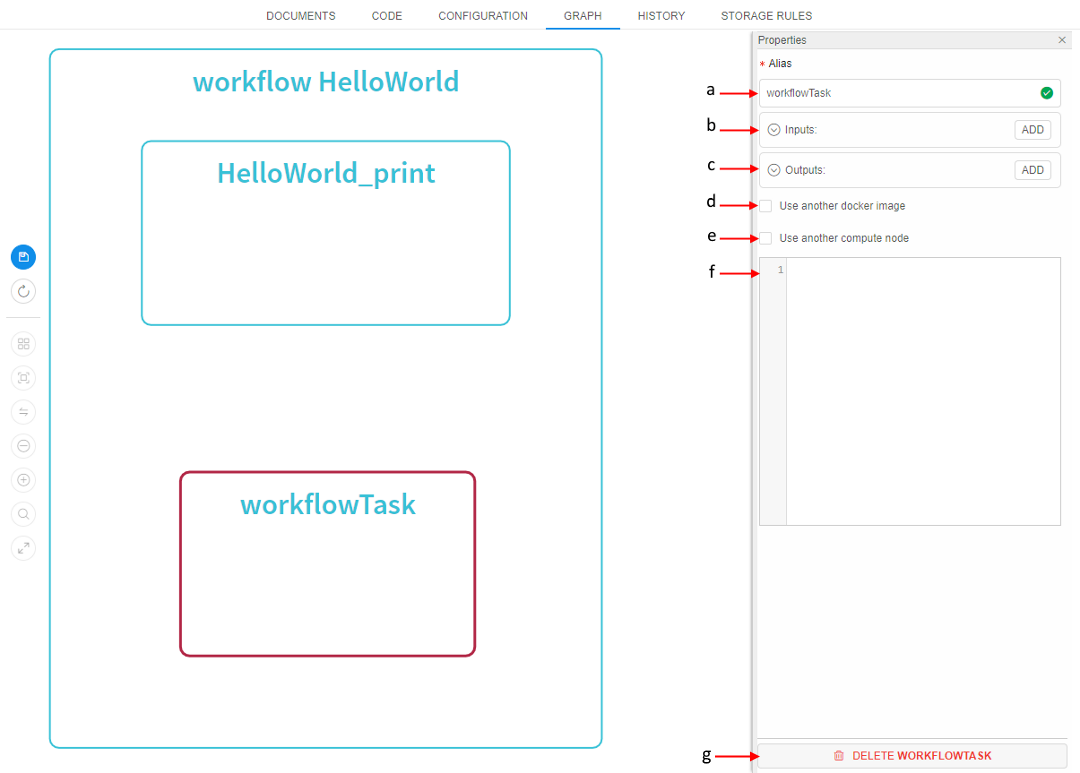
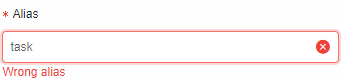
That panel contains the following controls:- Name (a) - a name of a task (it will be used for visualizing in a workflow and logging). If you want to change it - click on that field and input a new task name. Valid names are marked with green "OK" icon:

invalid - with red "cross" icon:
- Inputs (collapsed header) (b) - a list of parameters that a task can accept from upstream tasks. To add parameter - click on ADD button. The header will be expanded automatically:
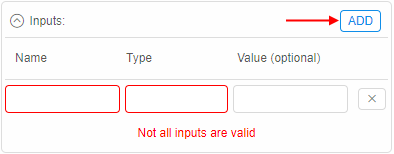
In appeared fields input attributes of a new input parameter. - Outputs (collapsed header) (c) - a list of parameters that a task will pass to the downstream tasks. To add parameter - click on ADD button. The header will be expanded automatically:
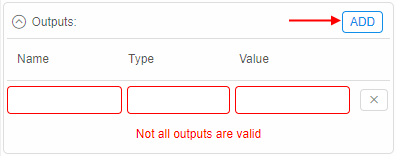
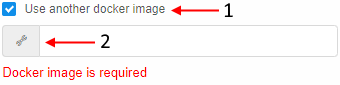
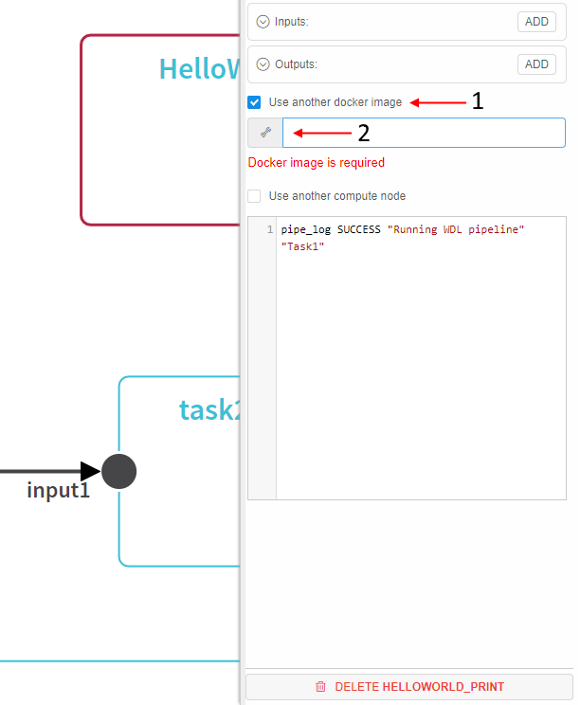
In appeared fields input attributes of a new output parameter. - Use another docker image (d) - if ticked - docker image, that is used within a task, can be overridden (i.e. different tools/images can be used for each task of the workflow). If you want to use another docker image - set that checkbox and then click upon an appeared field to select docker image:
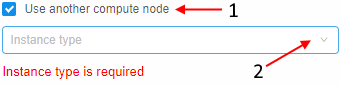
See more info below. - Use another compute node (e) - if ticked - instance type, that is used within a task, can be changed (e.g. more productive node can be used for the specific task). If you want to use another instance type - set that checkbox and then select instance from an appeared dropdown list:
- Command (f) - a shell script that will be executed within a task.
- DELETE task button (g) - to delete a task.
Inputted changes are automatically being represented at the graph. The following picture presents an example of a basic task creating:
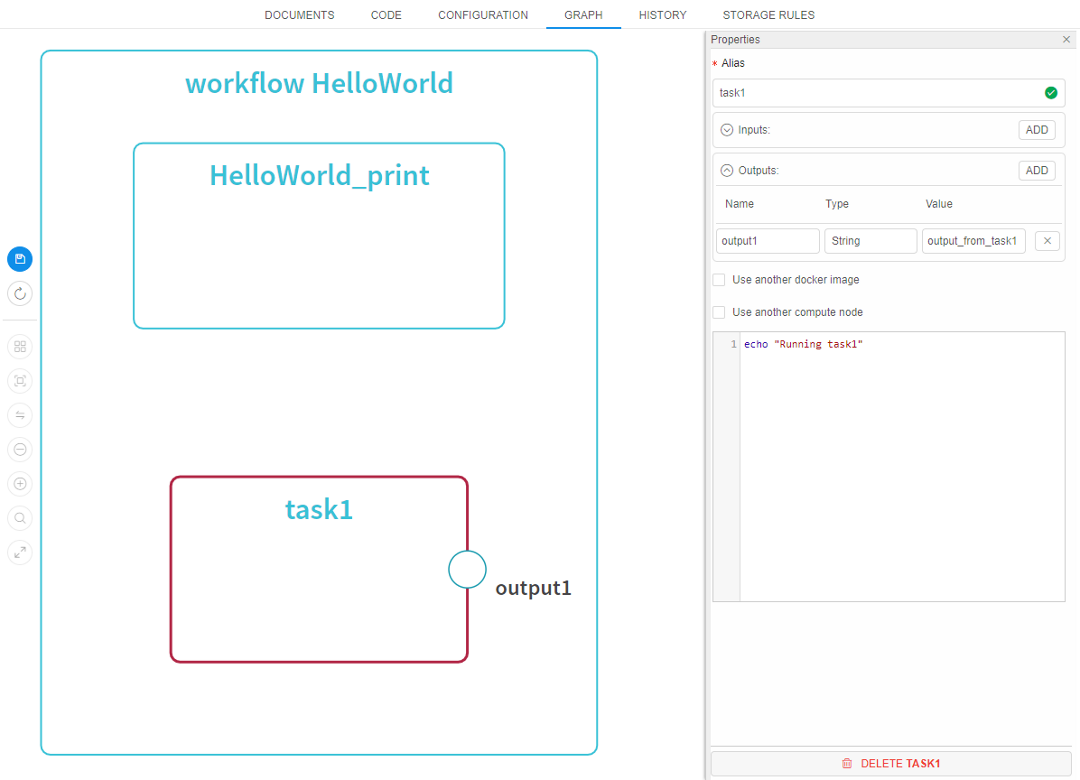
- Name (a) - a name of a task (it will be used for visualizing in a workflow and logging). If you want to change it - click on that field and input a new task name. Valid names are marked with green "OK" icon:
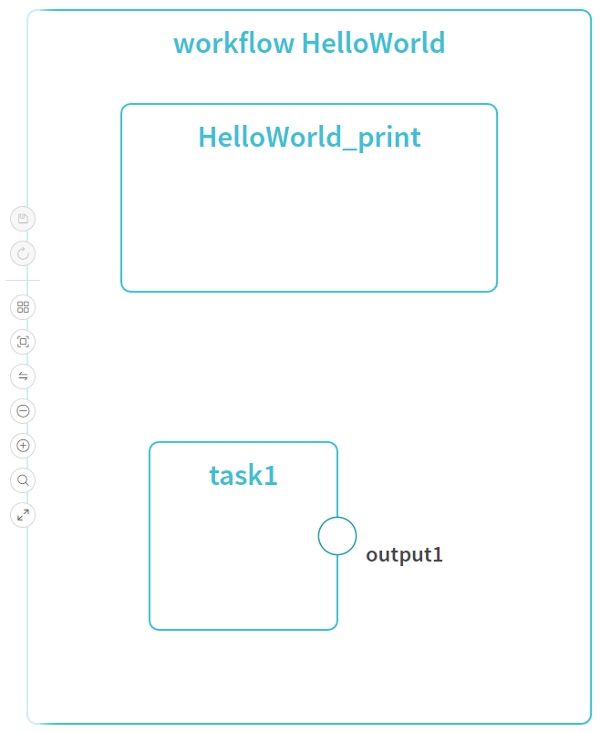
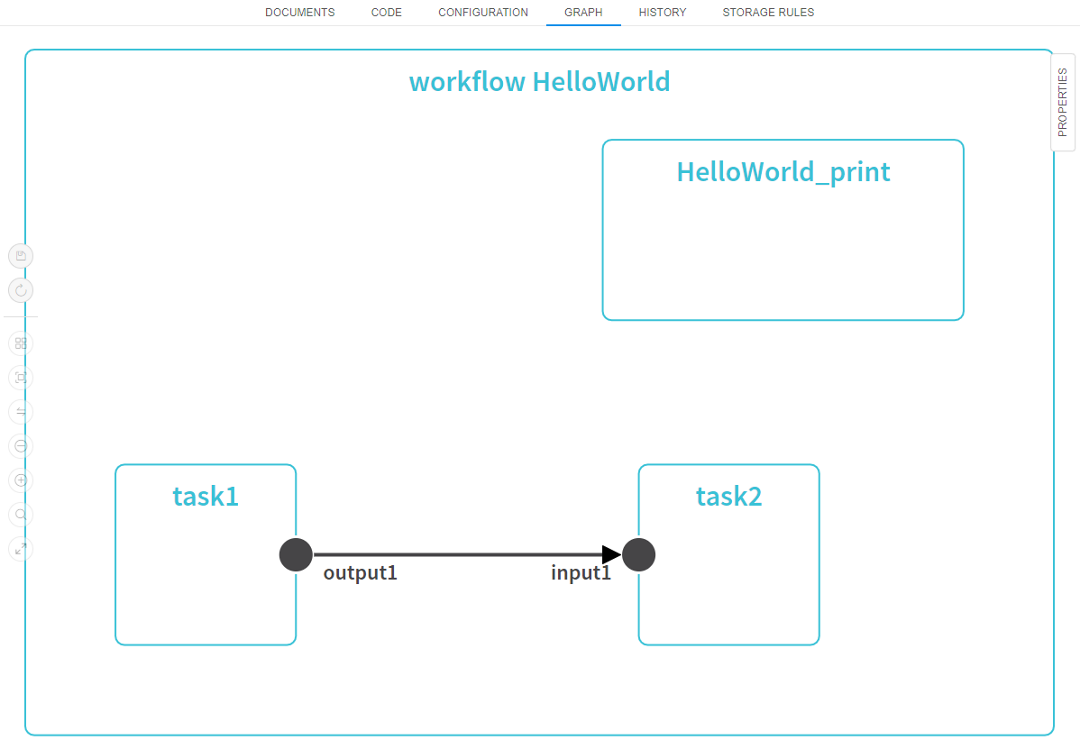
- After input values of a new task, click Save and Commit. The visualization with a new "task1" with one output will be displayed.
- To create a "real" workflow - create a second task with one input:
Then click Save and Commit. - Link task1 output with task2 input with a mouse cursor (click "output1" and slide to "input1"). Then click Save and Commit.
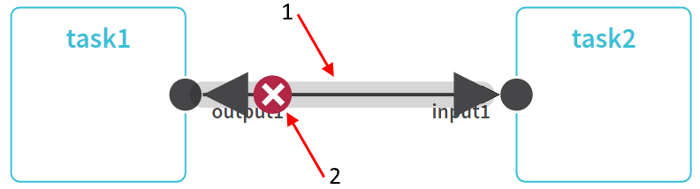
Note: to remove link hover mouse pointer over it and then click on "cross" button:
Note: "HelloWorld_print" task isn't linked to other tasks. When code generates from a graph, tasks without links to other tasks can be executed in any order (e.g. task1 → HelloWorld_print → task2 or HelloWorld_print → task1 → task2, etc).
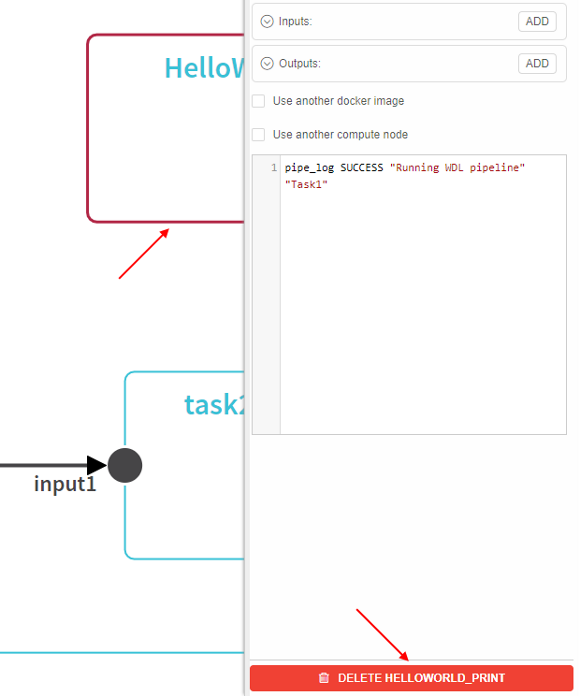
If you want to delete a task - click upon it, open "Properties" panel and click DELETE task button in the bottom of the panel:
- To add skatter:
- click PROPERTIES in the top right corner to open "Properties" panel
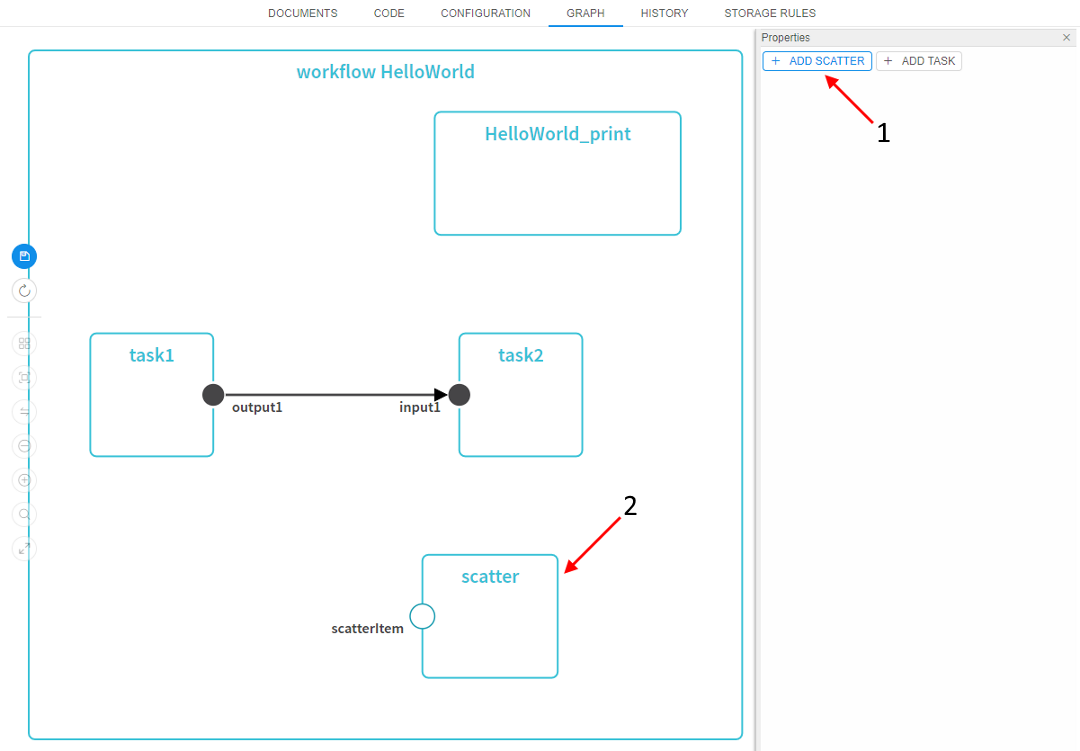
- then click ADD SCATTER button
- click PROPERTIES in the top right corner to open "Properties" panel
- This will create a new scatter in the main workflow:
- Click on the just-created scatter. It will become highlighted and the scatter editor will appear at "Properties" panel:
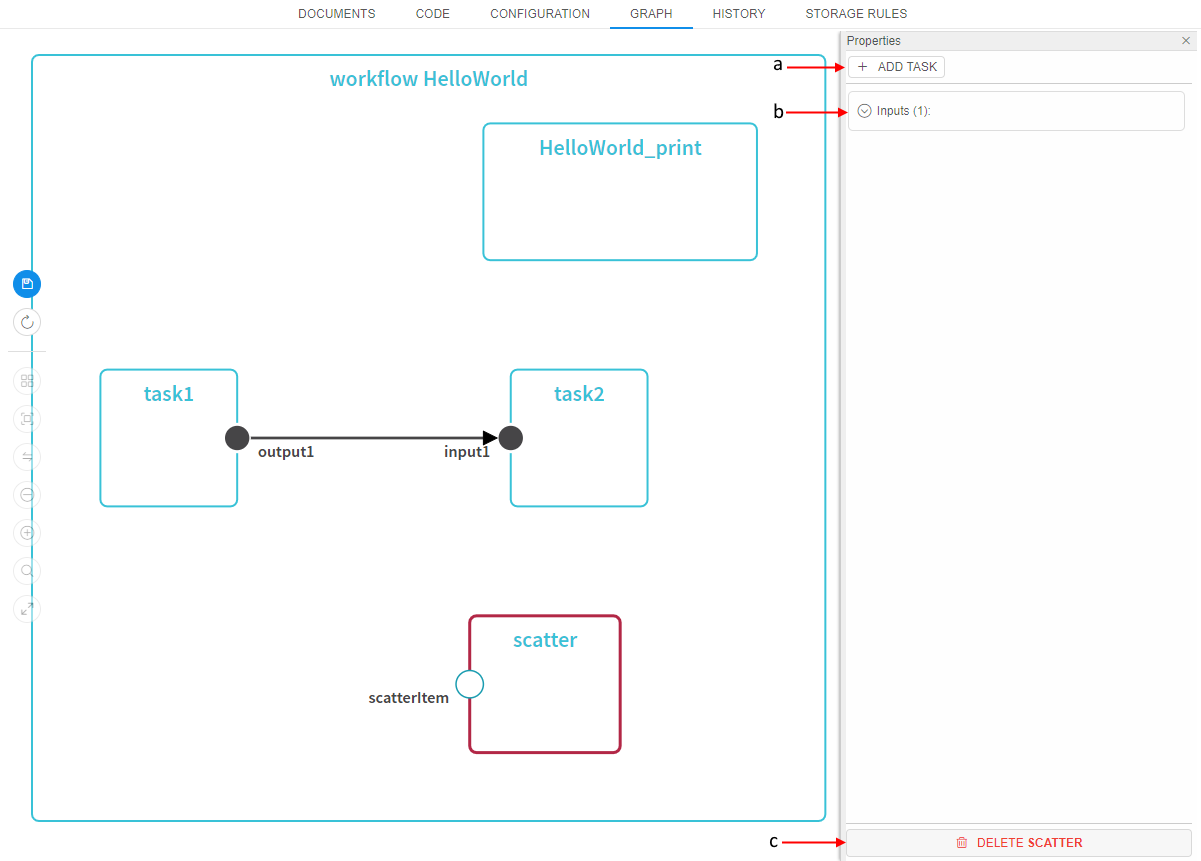
That panel contains the following controls:- ADD TASK button (a) - to add a task into the scatter item. Creation of a task in the scatter is the same as described above. You can add inputs/outputs for that scatter task, links them with outputs/inputs of other tasks.
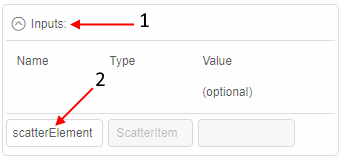
- Inputs (collapsed header) (b) - a mandatory parameter of a ScatterItem type that a scatter can accept from upstream task. User couldn't remove it or change its type, only change its name. For that - click upon the header and specify a new name:
- DELETE scatter button (c) - to delete a scatter.
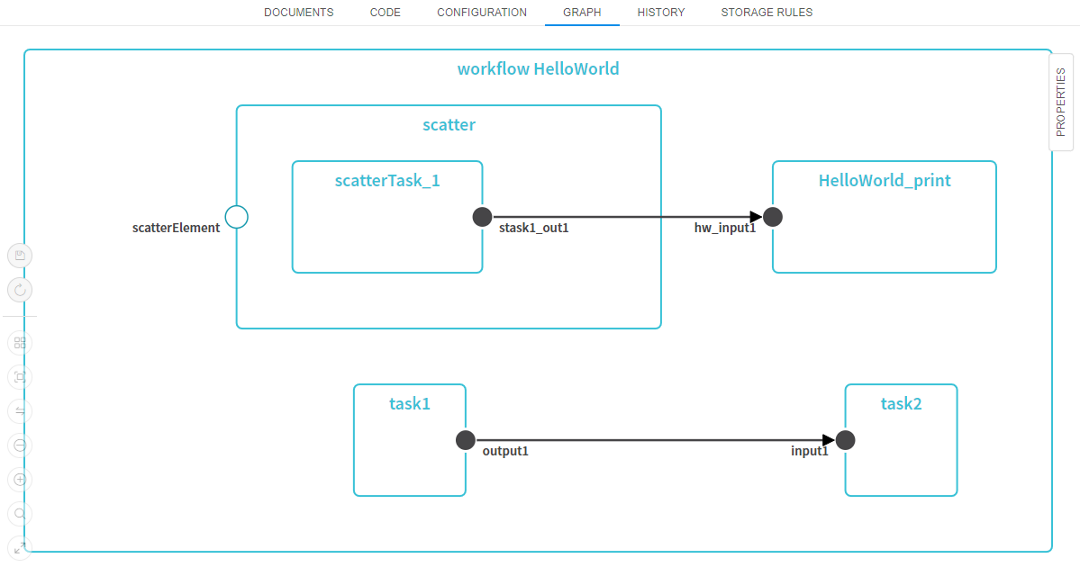
Inputted changes are automatically being represented at the graph. The following picture presents an example with a scatter, that has a task, which output is linked to "HelloWorld_print" task's input:
Overriding docker image for a specific task
By default, all tasks (and their commands) will run within a docker image that is specified for the initial run. This is useful when all tools/libraries are packed into a single docker image.
But if a specific step requires tools that are not packed into the same docker image - "PipelineBuilder" allows to specify another docker image:
- Open any task details and check the Use another docker image option.
- This will bring a docker image selector.
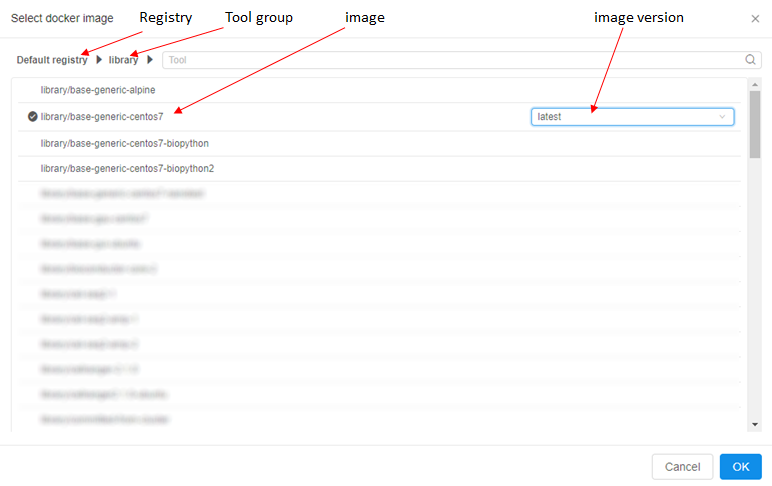
- In an appeared pop-up choose Registry, Tool group. Select an image and its version. Then click OK button.
- Specified docker image will be used instead of the initial one. This means that a command specified for a task will be executed in another docker container.
Example Pipeline
As an example - R-based scRNA secondary analysis script. This script uses 10xGenomics matrix as input.
Workflow diagram:

Note: this workflow uses "overridden" docker image for the last task to show how it behaves (as described in Overriding docker image for a specific task section).
Search over the Graph
To search some element over the Graph:
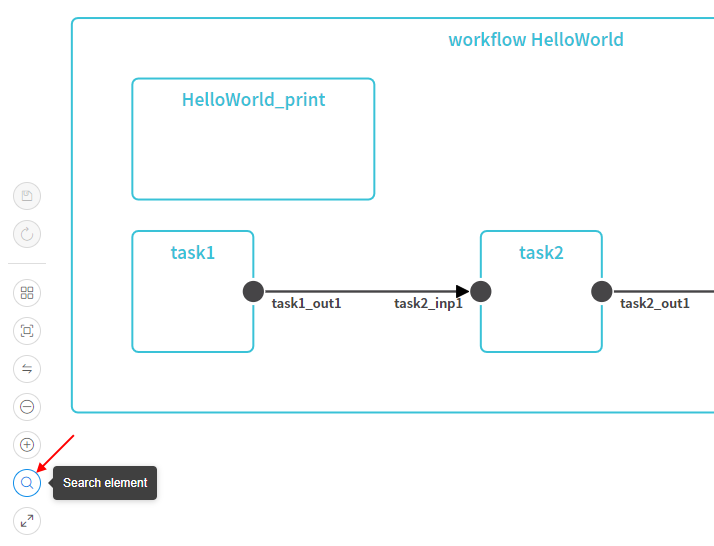
- Click the Search button in the auxiliary controls menu:
- In the appeared field input the name or type of the element you want to find. Search results will appear immediately while typing:
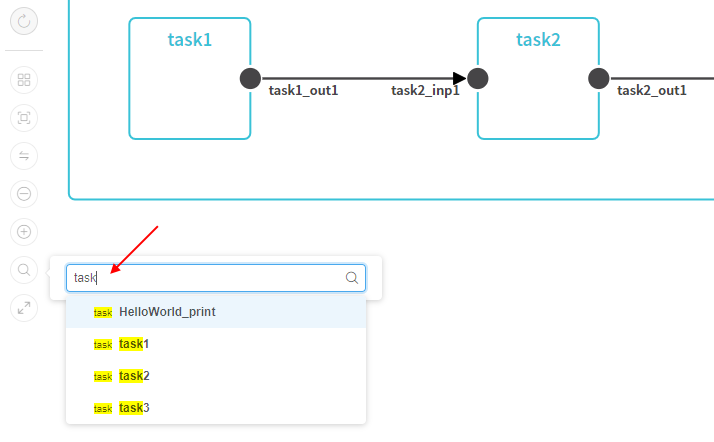
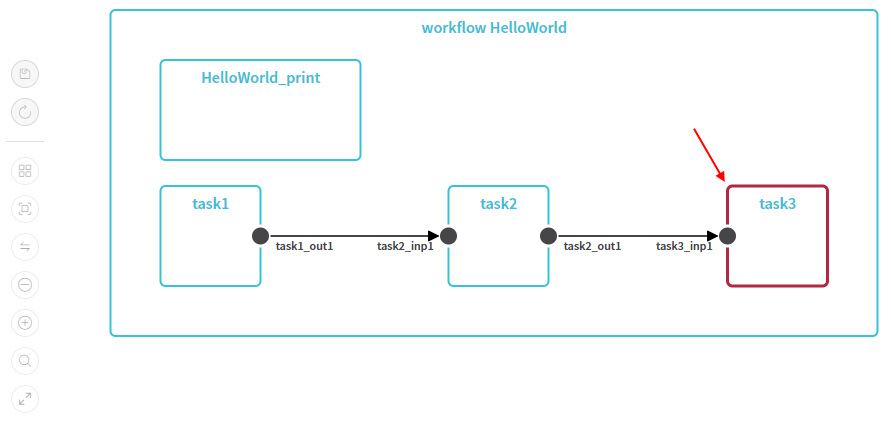
- In the list, click the element you want to find (e.g. task3)
- Found element will be highlighted and placed into the focus: