12.8. Change a set of roles/groups for a user
User shall have ROLE_ADMIN to change groups(roles) for a user.
There are two ways to set a role or group to a user:
- Change a set of roles and groups to a selected user from the Users tab.
- Change a member list for a selected role or group.
Note: the scenarios below shows a process using Roles as an example. Setting groups for a user happens in the same manner.
Change a set of roles and groups to a selected user
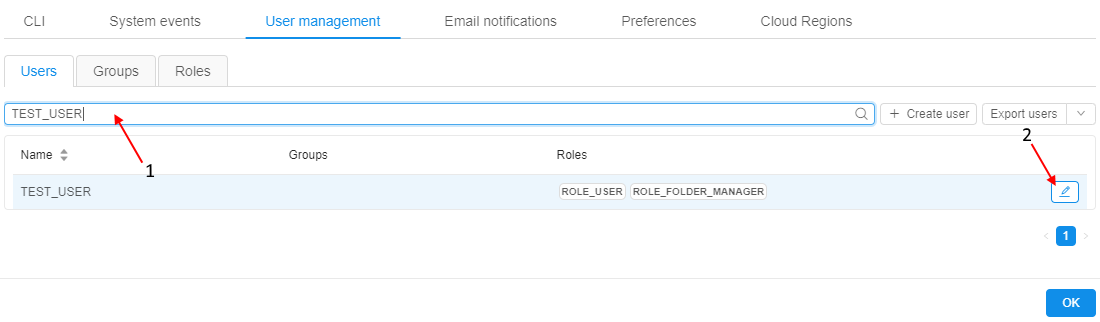
- Navigate to User management tab. Make sure that you are in the Users tab area.
- Find user on the list (you can use Search field - see the picture below, 1).
- Click the Edit button (see the picture below, 2).
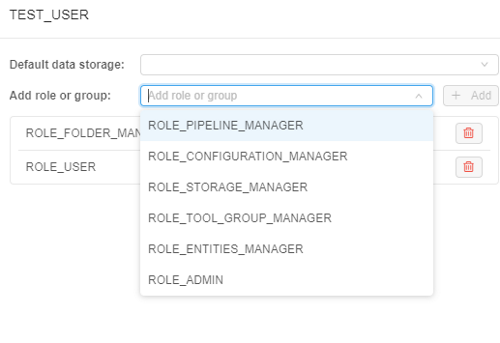
- The editing form is open. To assign a role or group to the user, click on "Add role or group" field and select the desired item from the drop-down list.
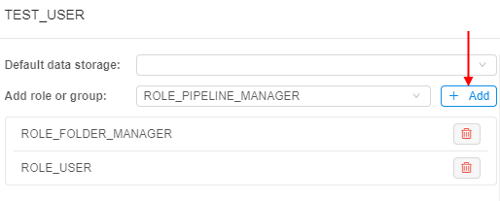
- When the desired item is selected, the + Add control will be enabled.
- To delete roles or groups, use the Delete button.
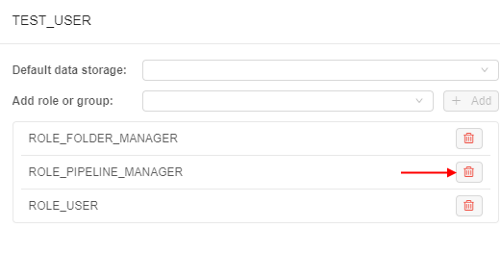
- Click OK and all changes will be saved and displayed in the Users tab table.
Change a member list for a selected role or group
- Navigate to the User management tab.
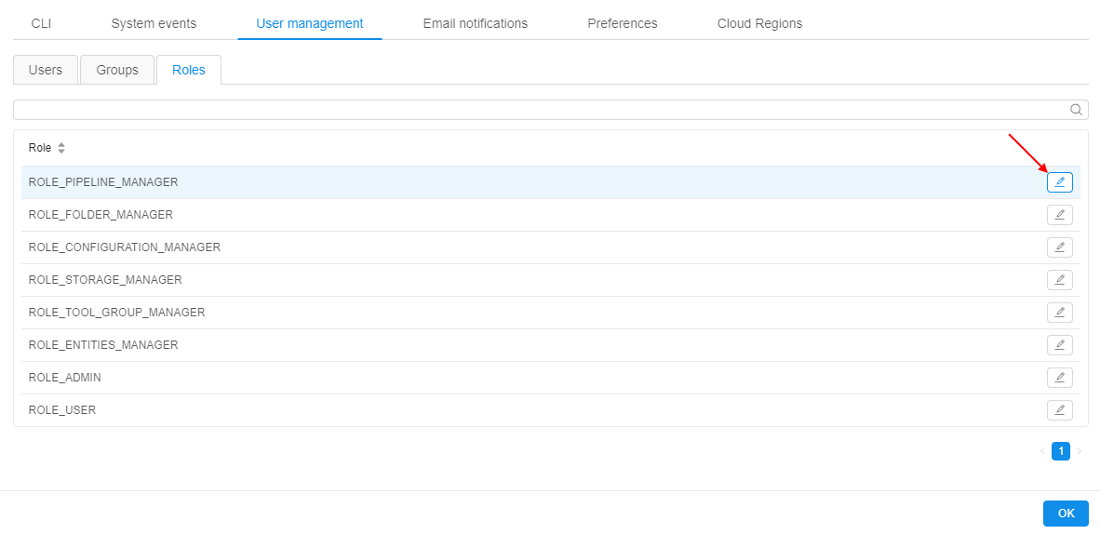
- Move to the Roles tab.
- Click the Edit button next to Role's name.
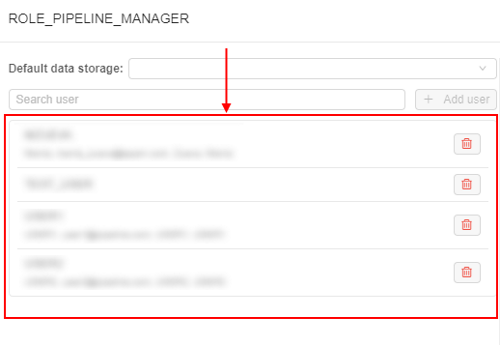
- You'll see a list of users assigned to the role.
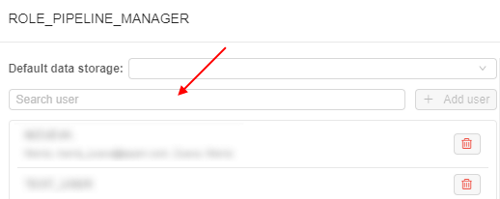
- Look for the desired user via Search field.
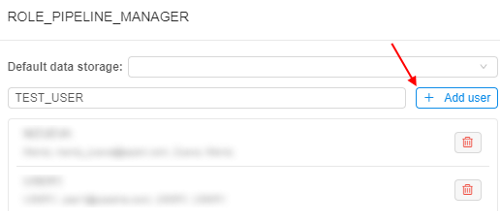
- When the user is selected, the +Add user control will be enabled.
- Click the +Add user control to add a new user to the role member list.
- To delete a user from the role member list, click the Delete button next to a user name.
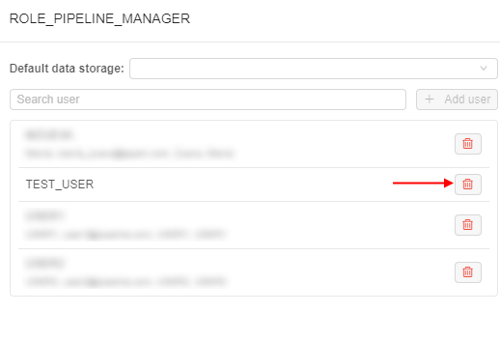
- Click OK and all changes will be saved and displayed in the Users tab table.